To know about the Linksys EA9300 Router setup, go through this article till the end. In this article, we have listed some of the basic instructions to teach you how to set up a Linksys EA9300 wireless router. In the Linksys router setup, you need to configure the router with the modem in order to broadcast the Internet via a wireless radio signal. Make sure you follow the steps carefully.
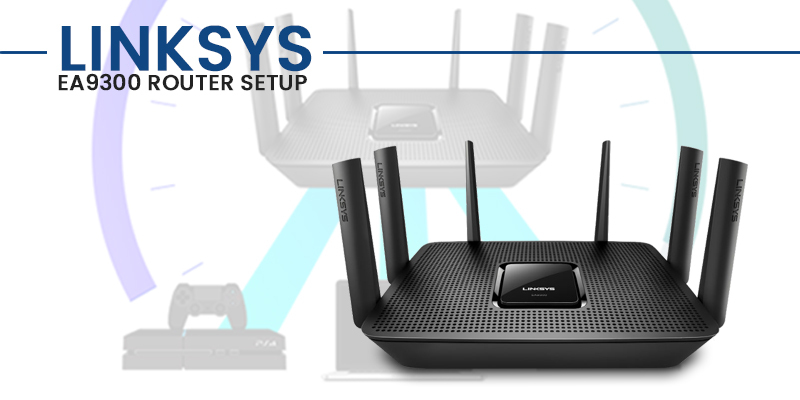
Linksys EA9300 Router Setup
This section will make you understand the process of Linksys EA9300 setup. We have mentioned the instructions below.
- Set up a hardware connection between your router and the modem. Use an Ethernet cable to connect the router to the modem.
- Attach the power cord to the Linksys router and plug it into the power outlet. Make sure the router is in working state.
- Go to your computer and connect your computer to the router. You can use either wireless or wired mode for the connection. For the wired connection, you will need an Ethernet cable.
- After the basic connection, open a web browser on your computer and enter the Linksys EA9300 IP address into the address bar. The Linksys IP address is: 192.168.1.1
- Now you will see the Linksys router login page on your screen. Look for the login fields and enter the admin credentials into the respective fields.
Username: admin
Password: admin or password - Visit the Linksys router setup page and click on the Wireless icon on the left side panel.
- Start the Linksys router setup wizard and detect the type of Internet connection on your router.
- Click Next and configure the basic wireless settings on your router. Assign your router an SSID (Network Name) and Security Key.
- Please ensure you select the wireless radio channel for your network. You can either choose 1, 6, or 11. Identify the less congested radio signal and then click on the Apply tab to save the settings on your router.
This is all about the setup of Linksys EA9300 and that will be all. Further you can move towards the steps of how to upgrade Linksys EA9300 firmware, because a device only works uninterrupted when the firmware is timely updates. Delayed updates cause problems.
How to Update Firmware of Linksys EA9300?
For beginning – you need to download the firmware of Linksys EA9300. Here is the link, you may download from here – https://www.linksys.com/us/support-article?articleNum=226200
Further moving towards the manual firmware grade process, follow the steps –
- Log in to the web based method of Linksys device, for this open the browser on your laptop or on your computer.
- Launch the IP address 192.168.1.1 in the search engine.
- Enter your login credentials of linksys device, if you have customized them. In case not, then, make sure to enter the defaults.
- You must have reached to the dashboard of your linksys device.
- Go to administration; from there go to Firmware Upgrade.
- Click on the option ‘Browse’
- Now select the downloaded firmware file from your system and upload it.
- Hit the button ‘Upgrade Firmware’
- Complete the upgrade process and power cycle your router Linksys EA9300.
How to Reset Linksys EA9300 to Factory Defaults?
Resetting the Linksys EA9300 to the factory default settings will erase everything from your router. The reset action will remove all the configurations, modified features, connections logs, passwords, etc from your router. In simple words, the reset process will make your device get back to its original default settings. These are the settings that your router is supplied with. You may need to reconfigure your Linksys wifi router in order to access the internet connection through your network. Follow these steps to reset your Linksys EA9300 to the factory default settings.
- Firstly, take a toothpick or a paperclip handy. The reset or push button is found a little inside the frame of your Linksys router.
- Press and hold the reset button for approximately 10 seconds.
- After that, you will see a few LEDs on your router blinking.
- Thereafter, release the push button and leave your Linksys router as it is.
- It will take a few minutes for your router to restore the factory default settings.
NOTE – Please ensure to perform the reset while the device is powered On. Make sure you do not turn off the device in the middle of the reset process.
Conclusion
So this was all about the Linksys EA9300 setup process and Firmware upgrade. We hope this article helped you set up the Linksys router without facing an issue. In case you face an issue while attempting to set up the Linksys router, call us on our Toll-Free number and we will be more than happy to serve you. Thank you for reading this article.