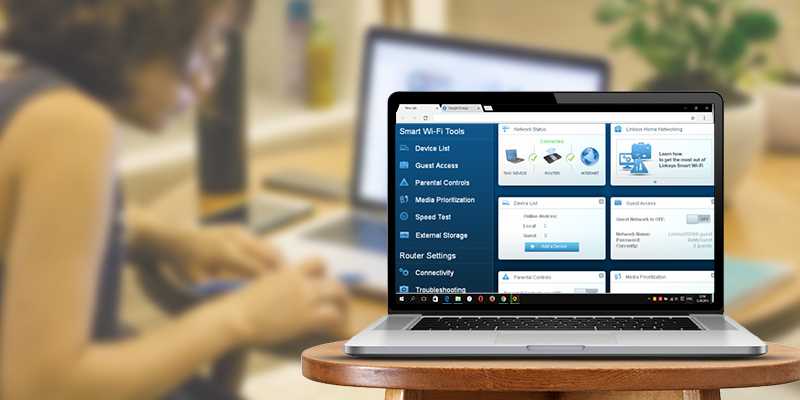
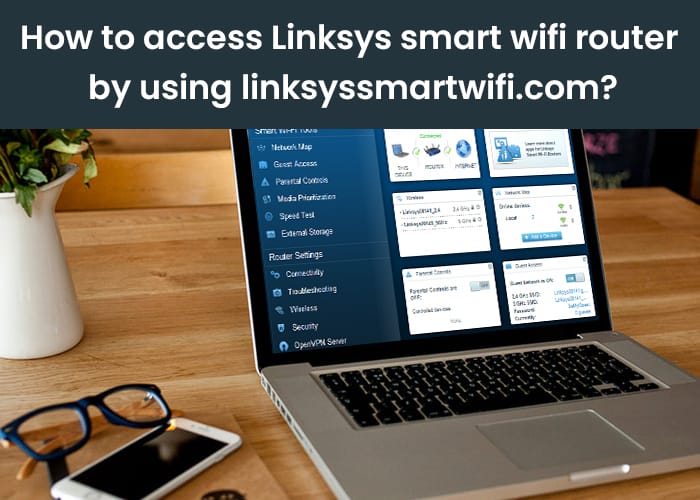
Linksys smart Wi-Fi routers are the best networking devices you can rely on for both home and commercial use. Features such as MU-MIMO, dual-band support, agile bandwidths and more help users with their networking needs. If you have purchased a new Linksys router recently, learning the steps to set it up will make more sense now than ever. This will also help you resolve any issues that might develop during the course of time. In this blog, we will explain the steps to access the linksys smart wifi router by using the default web address linksyssmartwifi.com
Accessing Linksys Router Using Linksyssmartwifi.com
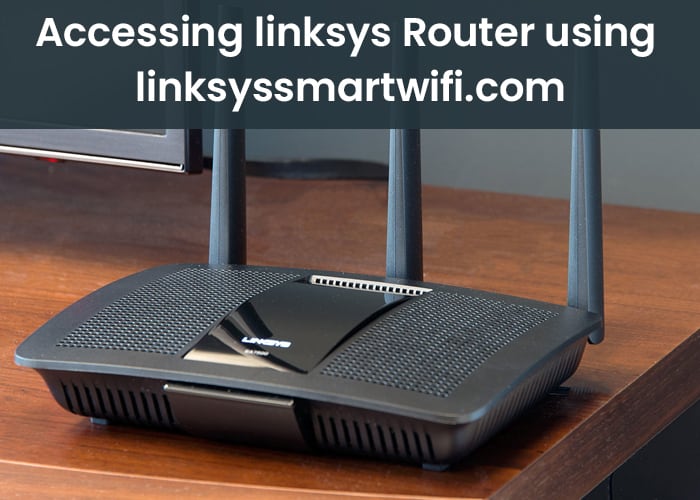
The linksys router setup process starts with making the connections between the networking devices. Further, you’ll need to configure the network settings using the Linksys smart wifi router setup wizard or linksyssmartwifi.com. However, before you begin with the setup process, here are some things you should have access to:
- Working internet connection
- Your Linksys smart wifi router
- DSL MODEM
- Ethernet cable(s)
- Computer system and a smartphone
Accessing The Linksys Smart Wifi Router Login Wizard
- Once the devices are powered on, open the wireless networks section on your computer system and locate the router SSID in the available networks section. When you see it, select the same and click on the Connect button.
- If you are using a wired connection between the linksys router and your computer system, you can skip the step mentioned above.
- Open a web browser and type http://www.myrouter.local in the address bar. Press the Enter key and you will be directed to the linksys wifi router login page easily
- Once you are on the login page, you will need to follow the onscreen instructions to set up and configure your main router settings.
- Set an SSID and a strong network password which is not easy to guess by just anyone. Save the settings and you are good to go.